Salt Painting- The Next Great Craft to do with Your Kids!
I started seeing all sorts of “salt painting” all over Pinterest- what the heck is salt painting? Only the coolest thing EVER! I had to give it a try and my toddler (and I) both loved doing it. All you really need is glue, salt, a paint brush and watercolors. Watch your toddler paint in amazement as the color spreads both ways when your paint brush touches the paper!
Salt Painting Materials:
- Cardstock (or any type of heavier paper)
- Glue (the classic kind that you can squeeze out of the tube)
- Salt
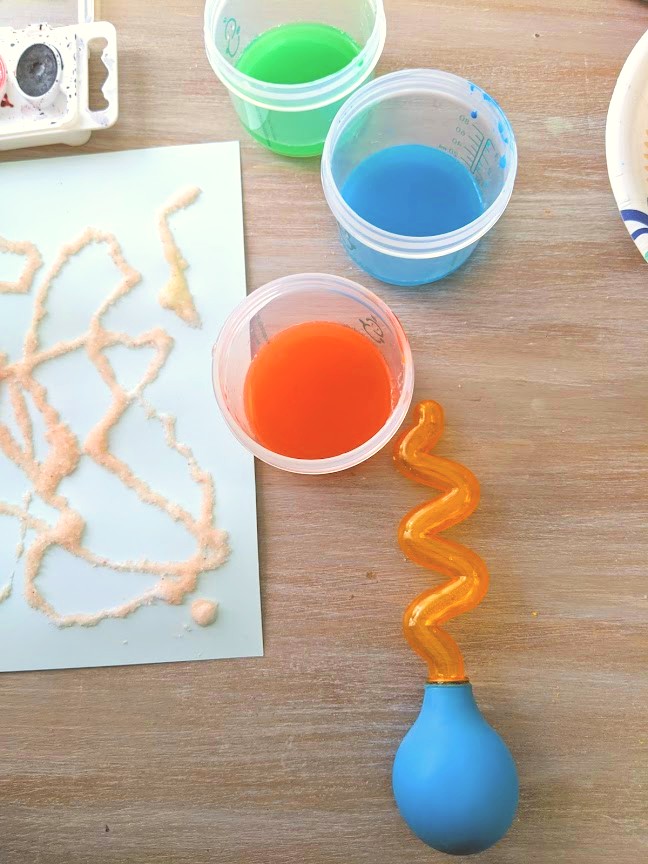
- Watercolors
- Paint brush
- Small cup of water (for dipping the brush)
- Paper towel (for cleaning off your brush)
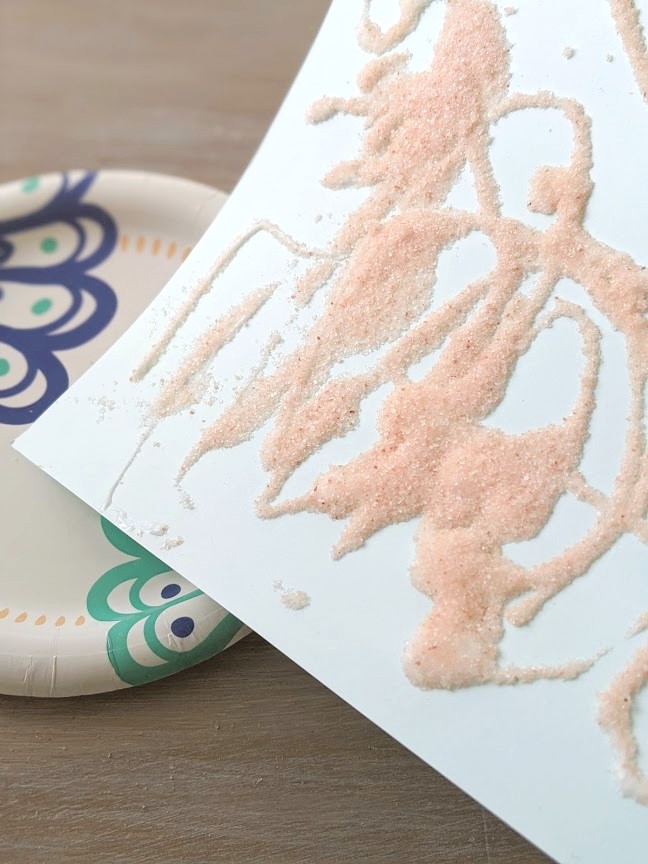
- Paper plate *optional* (use if you want to save the excess salt for another drawing)
Step One:
On a piece of cardstock, draw out your design using the glue.

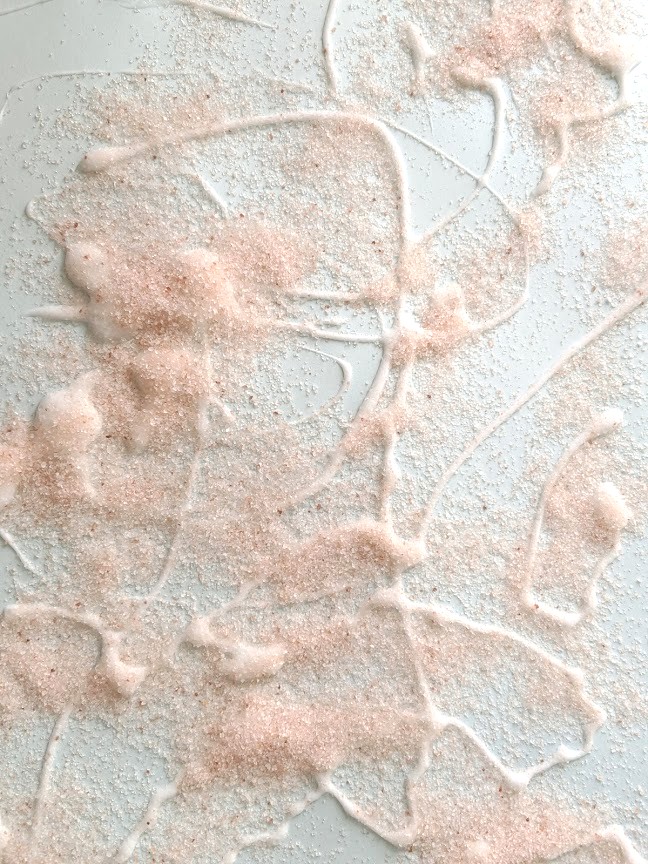
Step Two:
Once you’ve completed your design, grab the salt and shake it all over the areas where you put glue. Then tap off the excess salt onto a paper plate (if you want to save salt for another drawing) or into the garbage.

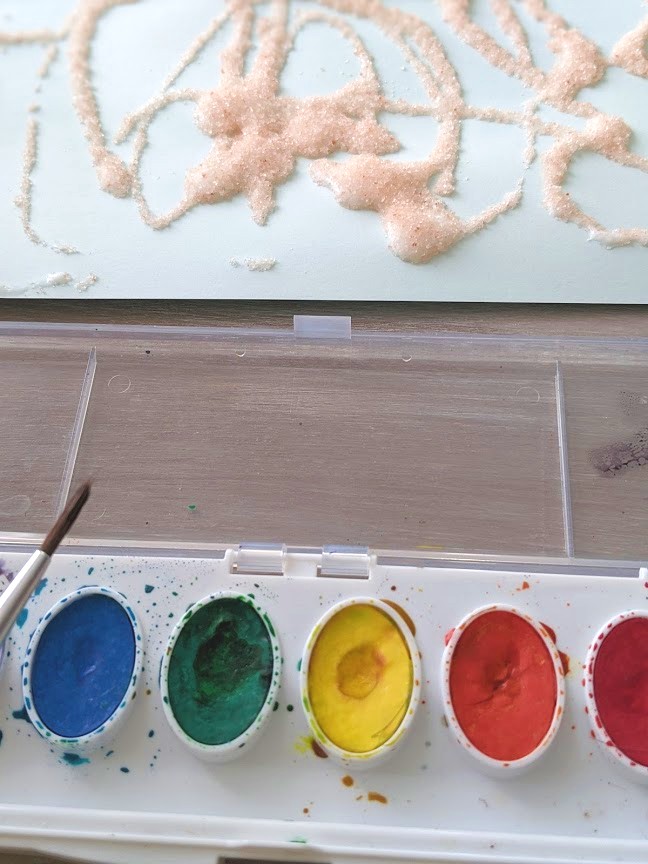
Step Three:
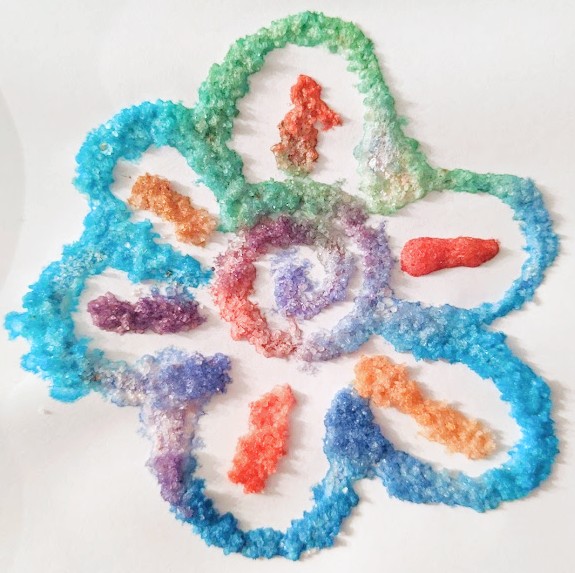
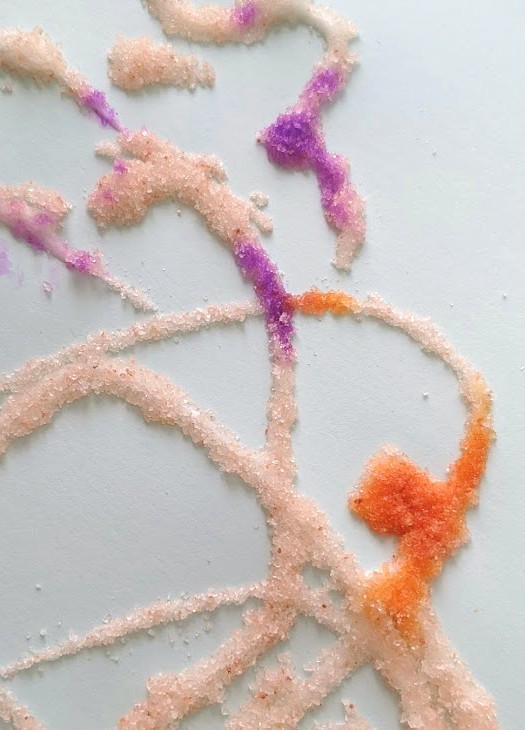
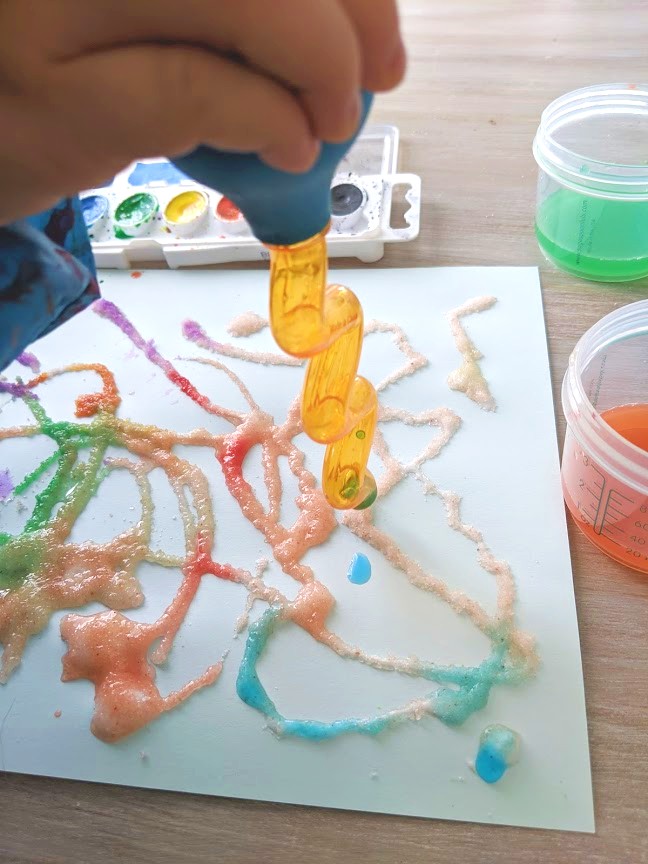
Dip your paint brush into the water, then dip it into your watercolor. Once you have some paint on your brush gently tap a spot where you put the glue/salt. Now watch in amazement as the color spreads out in both directions. Continue this step until your project is all filled in with color.
Step Four:
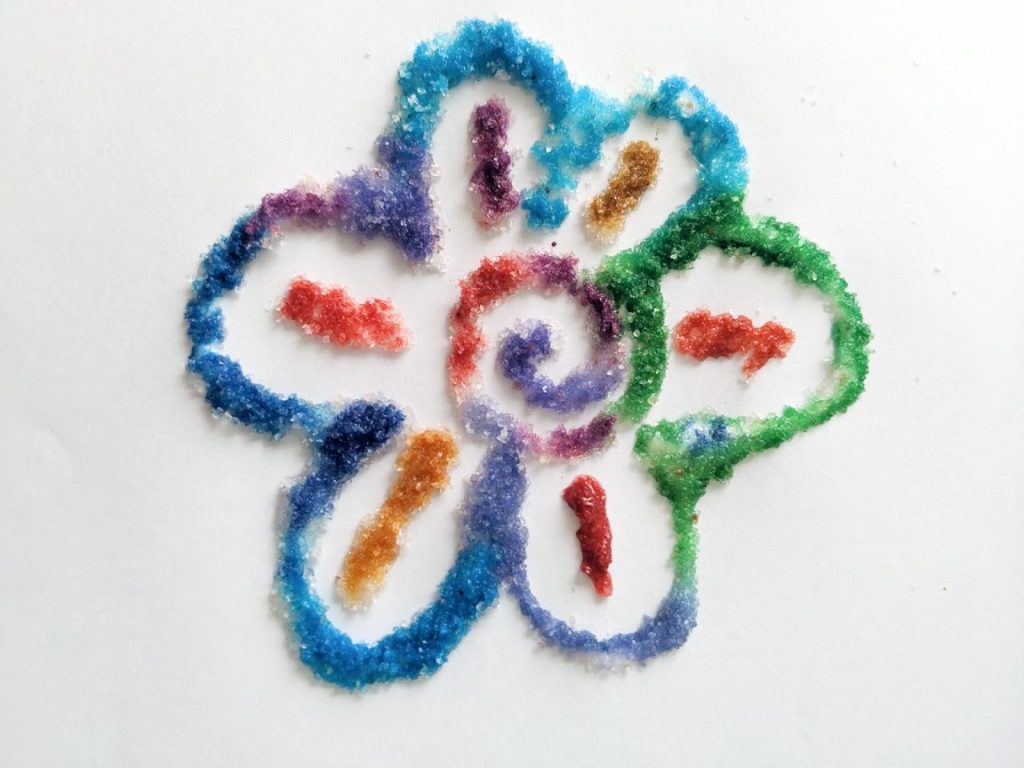
Let your beautiful salt painting dry. Then once it is dry, hang it up to display your gorgeous work! Great job!

too much fun!
Post a picture of your creations in the comments below- I’d love to see!


One Comment
Pingback: